Can you believe how fast these days have just flew on by?? Be sure to stay with me one last post after this for some extra tid bits of juicy information that will help further you in your sewing.
Supplies needed for this post:
- Your nearly completed Katy or Mac
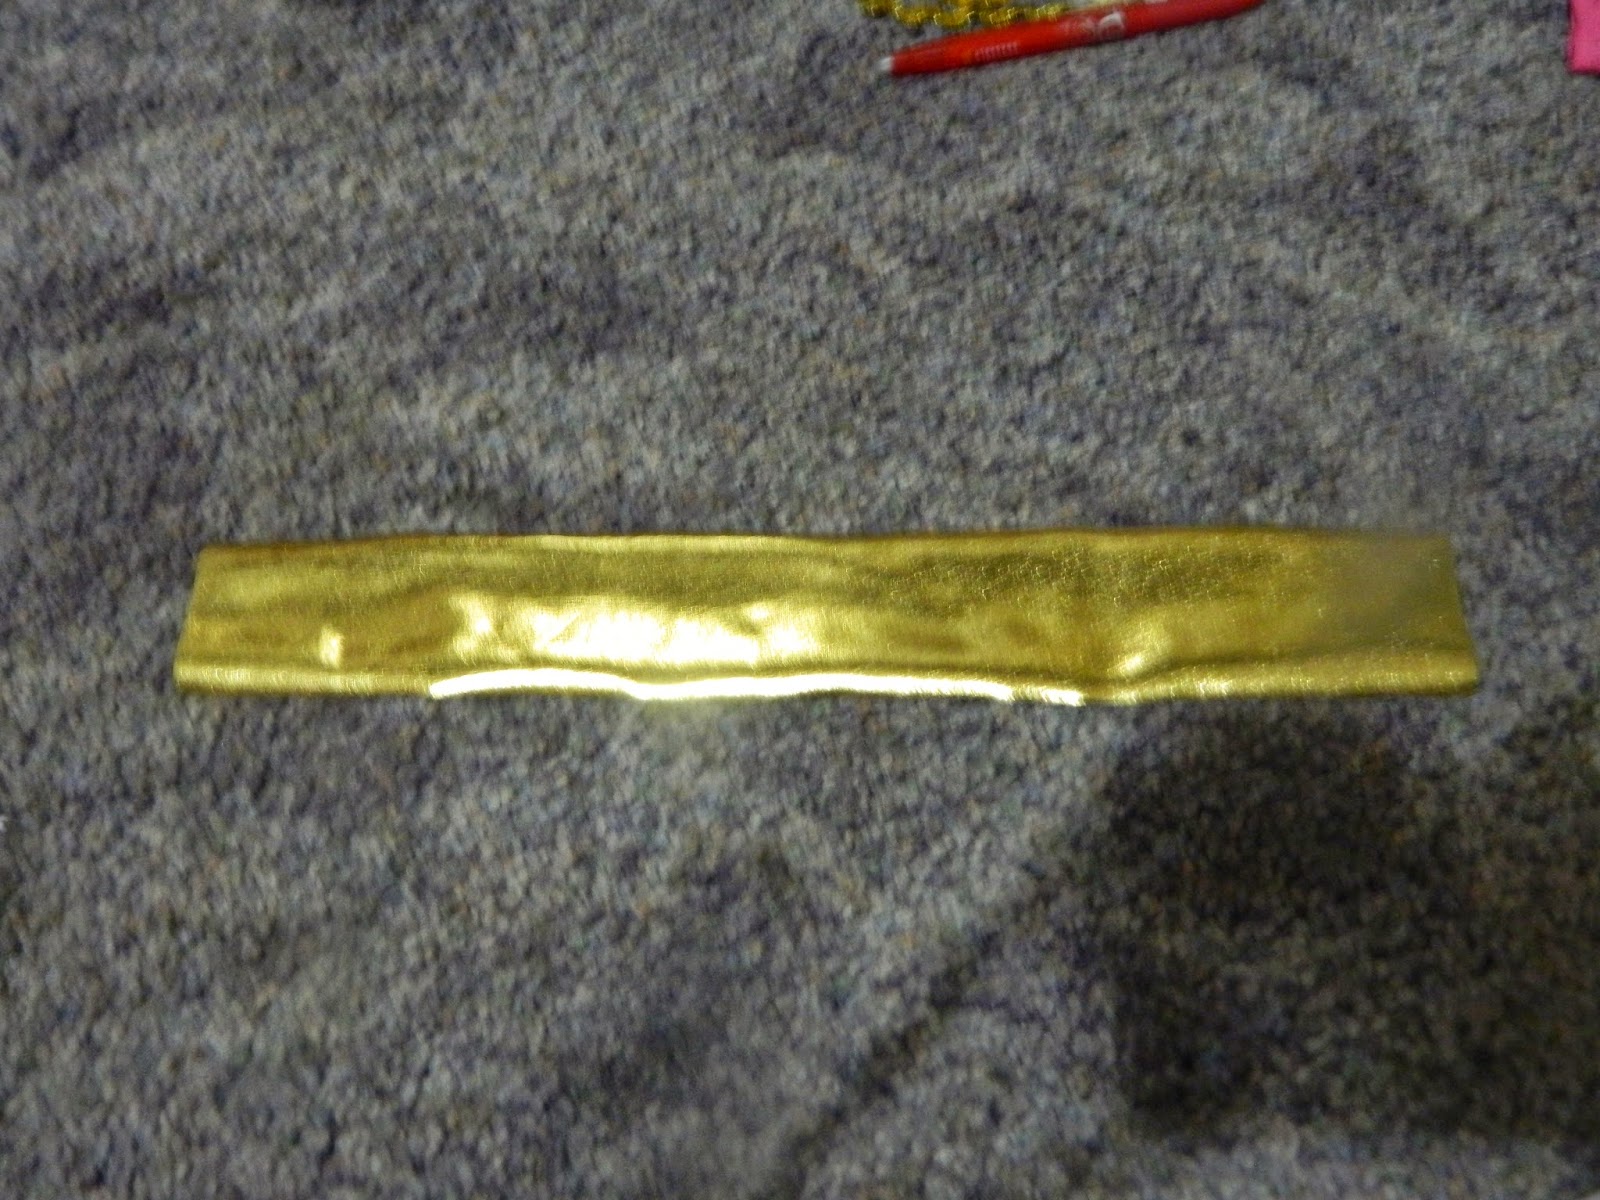
- Neckband {Already cut to the proper LxW in the pattern}
- Sewing Machine
- Serger
- Iron & Ironing board
- Thread
Lets begin shall we....
For this I'm showing the Katy first!

{Lay your piece flat with right sides together pin the side seam.}

{As you are pinning make sure you put your sleeve seams going down and your bodice seam is up.}

{As I stated earlier in the sew along.... I like to stitch then serge.}

{Finishing my side seam with a serge edge. If you don't have one you can use a zig-zag stitch on your sewing machine to do all your seam finishing. Once you get to the sleeve slightly straighten the sleeve as you are sewing/serge. I like to start from the bottom and work my way to the sleeve. If you like to do sleeve to hem be my guest! }

{Serger Tails: There is a lot of ways you finish your tails. I love to take my tails flip them over and zig-zag stitch them. You can take care of your serger tails by your serger. I can demonstrate that in my bonus post and some other ways I've seen.}

{Close up. Then I just cut my threads.}

{This is optional for the sleeve and hem. You can sew a small straight stitch along the edge of your serge seams to keep the seam from being floppy.}

{Sleeve: Folding my seam to the right side.}

{Sewing a small straight stitch to have a more professional finish.}

{Front View: Sides all sew.}

{Side View}

{Back View: Yay... the cape turned out cute :) }
{Next is the neck binding. For the neck binding Nicole recommends ribbing but, I've opted to use another knit material. Please test the recovery with your knit if you choose to move away from ribbing. Make sure the stretch is good and the recovery of the knit is good before choosing it to finish your Katy or Mac. Lay your neckband flat right side facing up.}

{Fold the neckband in half with right sides together.}

{Sew your seam allowance with a straight stitch.}

{Finished seam.}

{Open up your seam and press flat. I finger pressed but, you can hope over to your ironing board and steam the seam open.}

{Next, fold your neckband in half wrong sides together. This will create your neckband tube.}

{You now have a nice tube. I've marked the seam with a clip but, if you don't have clips use pins. You will now begin to find the 4 centers in your neckband. Please do not skip these next steps!! }

{My clip shows the first center being the seam. The fold on the right with be my next center.}

{Mark with a pin! }

{Now match up your 2 center and you will see the next 2 centers on the left and right sides. Pin or clip the 2 centers. }

{Now that you have your 4 centers found. Put to the side and grab your nearly finished Katy or Mac.}

{You will do the same process with the neckband on your Katy or Mac. Using the shoulder seams as your first 2 centers. Pin in place. }

{Next, match up the shoulder seams. Clip the left and right side creating the last 2 center points on your Katy or Mac.}

{Showing the 4 centers.}

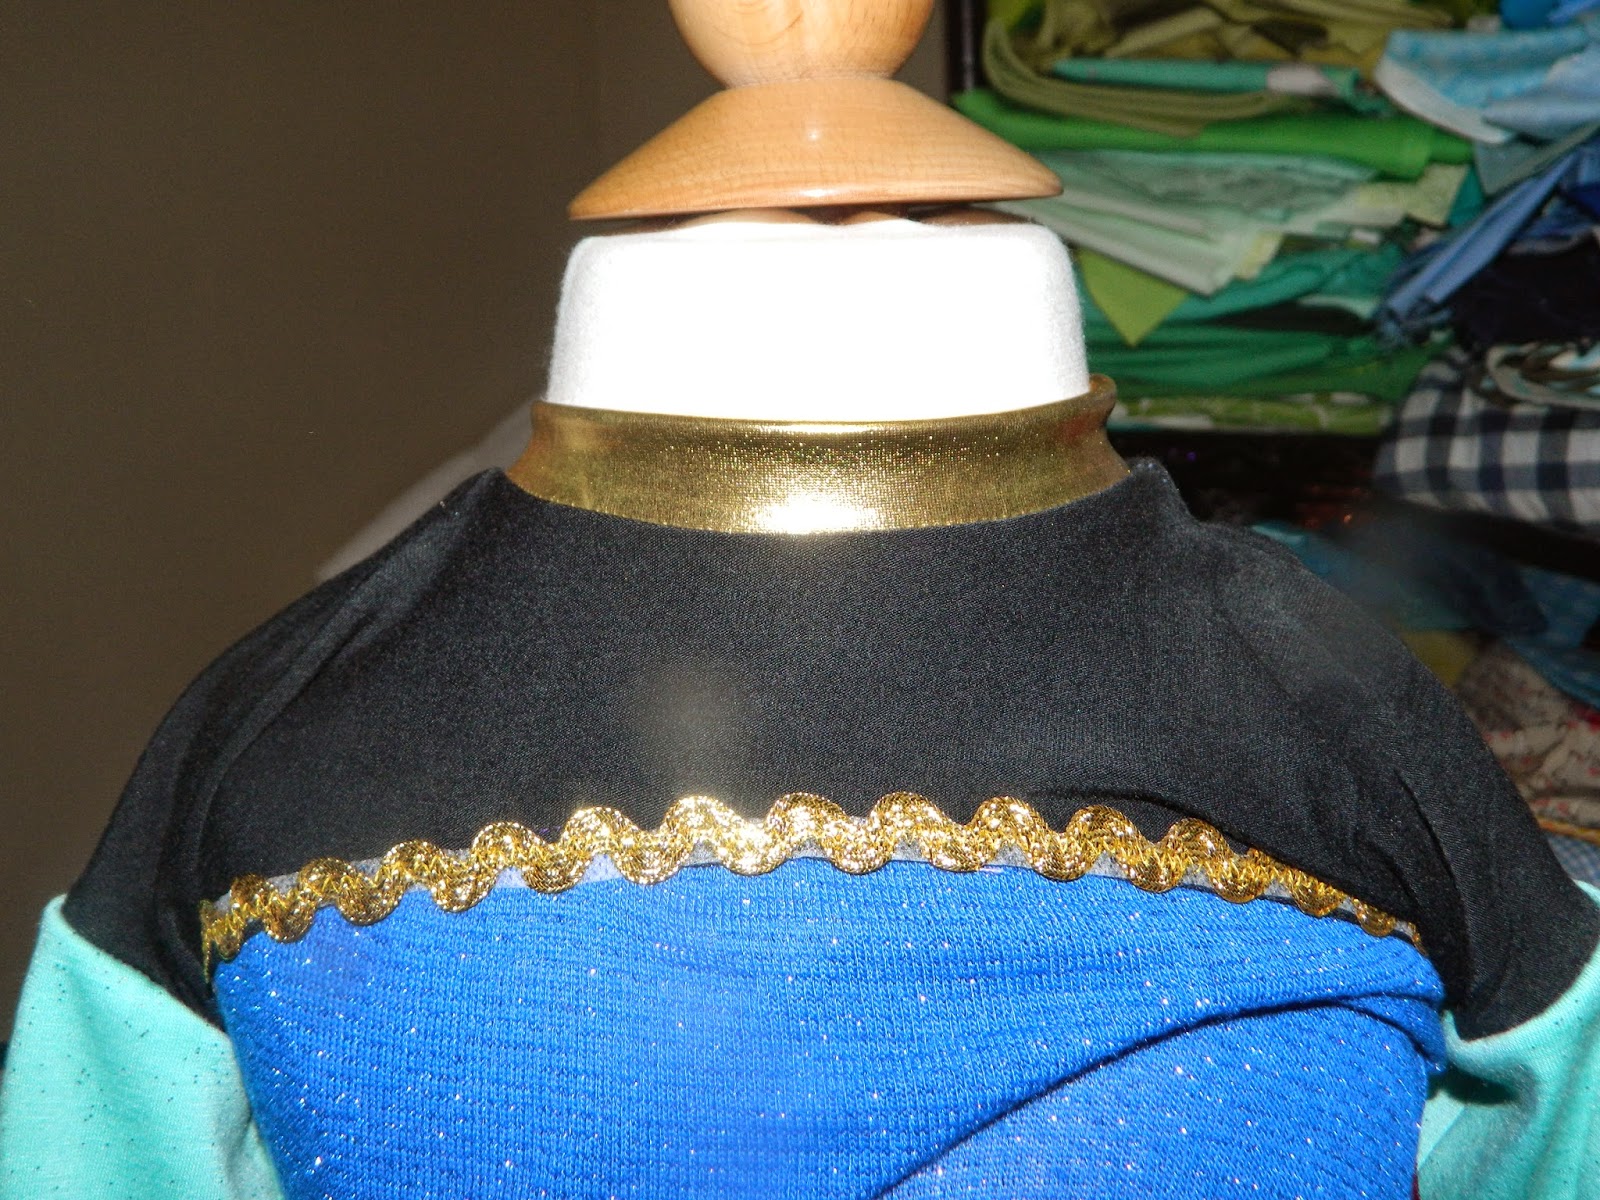
{Moving on.... Almost there :) Take the seam and place that on the back center marking on the Mac or Katy. I use the seam on all my neckbands at the back so if I'm lazy and don't put my tags in I know which is front and back. Not that you couldn't tell because the front neckline is much different than your back.}

{Continue to match all the center points on the neckband with the center points on your Katy or Mac.}

{Yay everyone joined together in perfect harmony! You are so close hang in... Only a few more photos... I know I get all crazy with so many photos! I'm sure your sounding like my girls saying, "Are we done yet!!" I get that phrase every time I'm in Joann ;) }

{I'm pretty confident with just my serger here. I was also a bit lazy and tired and I skipped it. Plus it saved you on seeing a picture or two. I like to sew from the inside. }

{You will have a slight gap with the neckband and neckline of the Katy or Mac. You will slightly pull your neckband to pick up any slack or excess fabric with the neckline of the shirt/dress. Remember to only do the slight pulling with the neckband. If you stretch on the shirt/dress you will stretch out the neckline and you could end up with a wonky or uneven seam. Or it will have overstretch to were the recovery of the knit has been compromised and the neckline won't fit your child and you will have to get out your ripper and recut you a new neckband. Go slow and steady the neckline is super important to the proper finishing of your Katy and Mac.}

{To cast off from your neckline I start to slightly move my fabric to the left so I can just serge off.}

{Pulling my fabric to the left and then I just keep my serger going and create my tail. }

{Showing the end of my casting off...}
{Optional: Top stitching your seam. I didn't I normally don't on knits. You will see 50 shades of cray cray on my wovens but, I'm more relaxed with my knits. }

{My finished Katy princess style!}

{I am just in love with this and Clara Mae will be too :) }
Showing the steps for the Up-cycle Mac!!

{I didn't mention this above but, I will here. Since I choose to finish my seams before I sew up my side seams. To ensure my finished hem stitching will match up. I take my clips or pins and will pin at the hem.}

{I then open it up and see if I need to adjust any before moving onto sewing. I do the same process with the sleeve. Following the steps about... Sew up your side seam, make sure you finish your tails if you serge! Then you are free to move onto the neckline. Find the 4 centers in the neckband after you sew your seam and then create your tube. Then find the 4 centers in your shirt, match them up and finish off your neckline.}
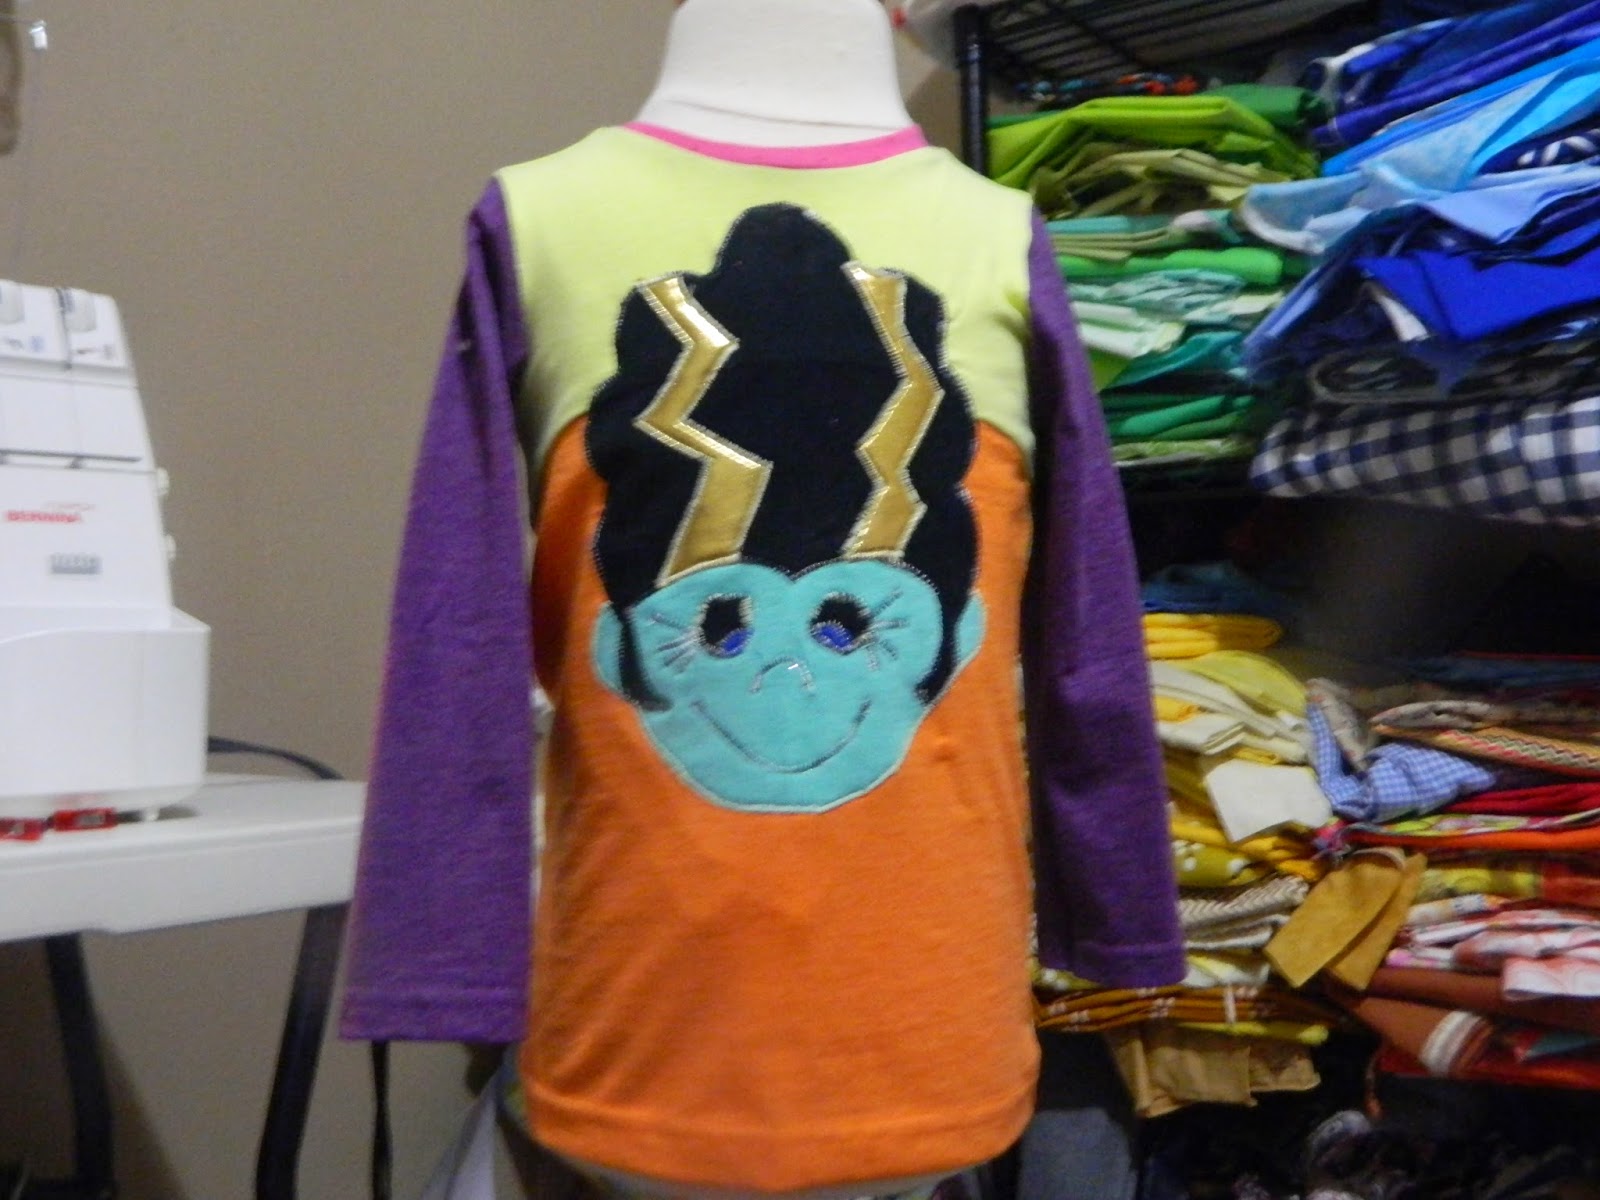


{Finish views of the up-cycle appliqued Mac.}
I truly hoped you enjoyed my style of writing along this sew along. I hoped I've inspired you all to try new techniques, project, and spark your sewjo! I can't wait to see all your hard work pay off and see the creative Katy and Mac's you make. Be sure to give Nicole and Beth a huge thank you for sharing their passion and joy for sewing with all of us. Please check back one last time with me on Wednesday or Thursday when my huge bonus post will air. I will also answer all the questions you might have between now and then. It has truly been a great blessing to share my advice, {not sure how awesome I was with advice giving!} passion, and love for sewing with you. Thank you Nicole for allowing me to help you out with our very first sew along!
Until next time......
xoxo,
Nicole
Thanks so much for all your great posts! I sewed all at once, but your steps/pictures/directions really helped out!
ReplyDelete
DeleteThis totally made my day :) all the time and hard work this is why I did it and went very detailed. Haha.... I'm a total I need to finish now kinda gal and not stretch out a project a week. This was really fun for me and got me out of my comfort zone. You're very welcome! I'm so happy to hear my sew along was helpful.