I know some of you like myself..... had to join your upper bodice piece with your lower portion. I touched based on this a wee bit in yesterday's applique post but, will do a much better job this post with step by step.
I've also included the shoulder seam on this post with the upper to lower sewing. So when you join us again tomorrow we will be working on side seams and hems. Although if you cheated like I did on a up-cycle you will find yourself in a paradise for work that needs to be completed since all your hems are finished for you :)
Let us begin shall we....!?!
Supplies needed for this post:
- Front Upper Bodice {For Katy or Mac}
- Lower Bodice {For Katy or Mace}
- Back Upper Bodice {For Katy Only}
- Lower Back {For Katy Only}
- Sewing Machine
- Serger
- Wonder Clips or Pins
- Twill tape, knit tape, clear elastic {For shoulder seams}
- Iron & Ironing board
- Scissors
- Thread {Matching or coordinating}
- Ball point needles {sewing machine and serger if your using one}
For this post I will be working with the Katy pattern!
Remember if you changed your machine settings to do your appliqué to make sure you put your stitch width and length to your normal sewing settings. Same with the tension if you adjusted that during your appliqué work.

{Take your upper bodices pieces and lay them out. The top bodice is the front and the bottom bodice piece is the back. If you don't remember which piece is which you can get your pattern piece or just look at the neckline scoop to find which piece is which.}


{Don't mind the photos being vertical over horizontal. This is showing your lower bottom pieces they are identical so it doesn't matter which goes with what upper bodice piece. I'm doing a Anna inspired Katy so I thought I'd add the cape. I spoke about this in Day 2 during the cutting out portion. Note: If you add a cape or anything between your layers please take note of seam allowances on the sides. If you want your cape to not be in your seam please take in account during sewing. }

{Finding the centers of your pieces. Fold in half and mark with the pin or in my case I'm using wonder clips. I spoke of these in yesterdays post and linked up to amazon on purchasing them or you can get them at Joann or Walmart.}

{Once you find the centers you will pin in place. Remember to pin right sides together!! I like to work from center to one side then repeat on the other side. To each their own.}

{Showing the front and back pieces all pinned in place.}

{Showing what the right side looks like once you've pinned in place.}

{This is a great time to see if you Katy or Mac needs some extra fancy to the party! I said, yes I need some glitz and I found some pom pom trim for my cape and gold ricrac for the front upper bodice. }
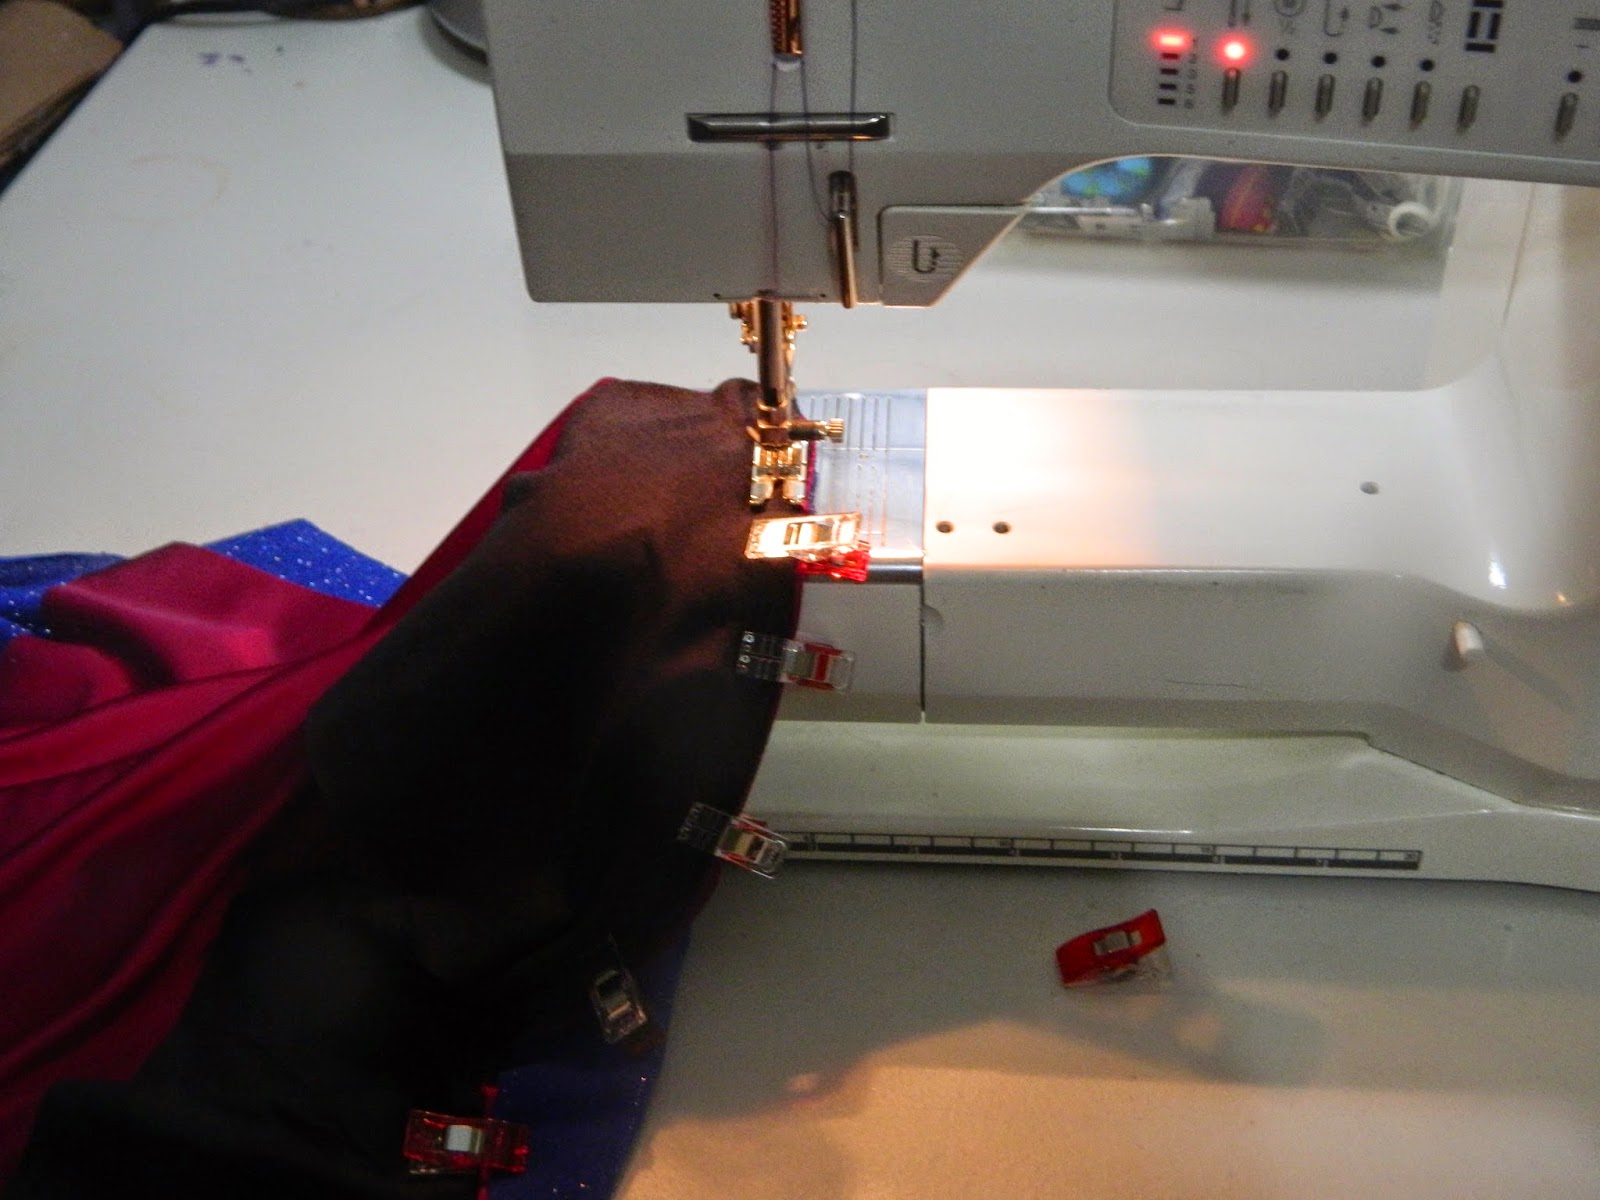
{I like to stitch everything with my machine before moving to my serger. I can double check all my stitching before hand to make sure I didn't get any puckers or unwanted gathering in my seams. Please take care not to stretch you fabric!! Let the feed dogs in your machine feed the fabric while you light guide it with your hand.}

{This is me checking out my stitching for quality control before moving onto finish my seam!}

{Inside view: Everything is perfect and is laying how it should. Now that I'm fully satisfied I can finish the seam :) }


{When using your serger it is a good idea to change your needles to ball point. I did notice a huge difference when I did. Also because there is a slight curve in the bodice you will need to slightly stretch the fabric straight while you are operating your machine.}

{Yay!! Look how beautiful and perfect your upper bodice is with the lower!}

{Closer view of the back bodice.}

{ I decided my cape needed something so I went with some fun trim on the bottom edge of the cape. Note: Before using any pom pom trim it is always a brilliant idea to take the time to do a sample sew using the pom pom trim and run it in the washer to see how it holds up. Not all pom pom trim is created with high quality fibers. A lot will disintegrate in the washer. These hold up nicely I have tested. I found this trim at Joann. }

{See!! Look how much more fancy that cape is now!}

{Moving onto the front of your Katy or Mac. Repeat the process like I just did with my back. I started with the party now I'm getting to the business {backwards mullet joke} Top stitching is totally optional! I did top stitch the front only because I was using trim.}

{Look more princess inspired now with some gold.}

{Top stitching my Front bodice portion.}

{I spoke about this tape in Day 1 it is the wash away wonder tape and it is wonderful!! This is my go to tape for everything and my secret when using any trims on my dresses I make.}

{Get your wash away tape and stick it to the back of your trim like so...}

{Pull back the paper to revile the other sticky tape side.}

{Apply your trim to the proper placement on your Katy or Mac. What is nice about this tape is you can move it as many times as you'd like for the proper placement.}

{Stitch your trim in place.}

{Wow... trim adds such a fun touch to your Katy or Mac. I hope you will try it on one of yours! You can't see but, some of my tape is showing. No worries it will all come off and be nothing more than a distance memory once it visits the wash. }

{I spoke of this product as well in Day 1. This is knit tape. It helps to add more support in the seams on your knit garments so they don't get over stretched and weakened after many times wearing and washing your garment. The knit tape has a right and wrong side to it. The right side is smooth and the wrong side is rough when you feel it. If you can't find this knit tape found this at Joann you can get clear elastic or twill tape.}

{I take my tape and measure how much I need and cut.}

{The knit tape is much wider than I need so I just cut it into smaller pieces.}

{Lay your front and back pieces right sides together.}

{Pin your shoulder seams together}

{I grab my tape and pin it in place.}
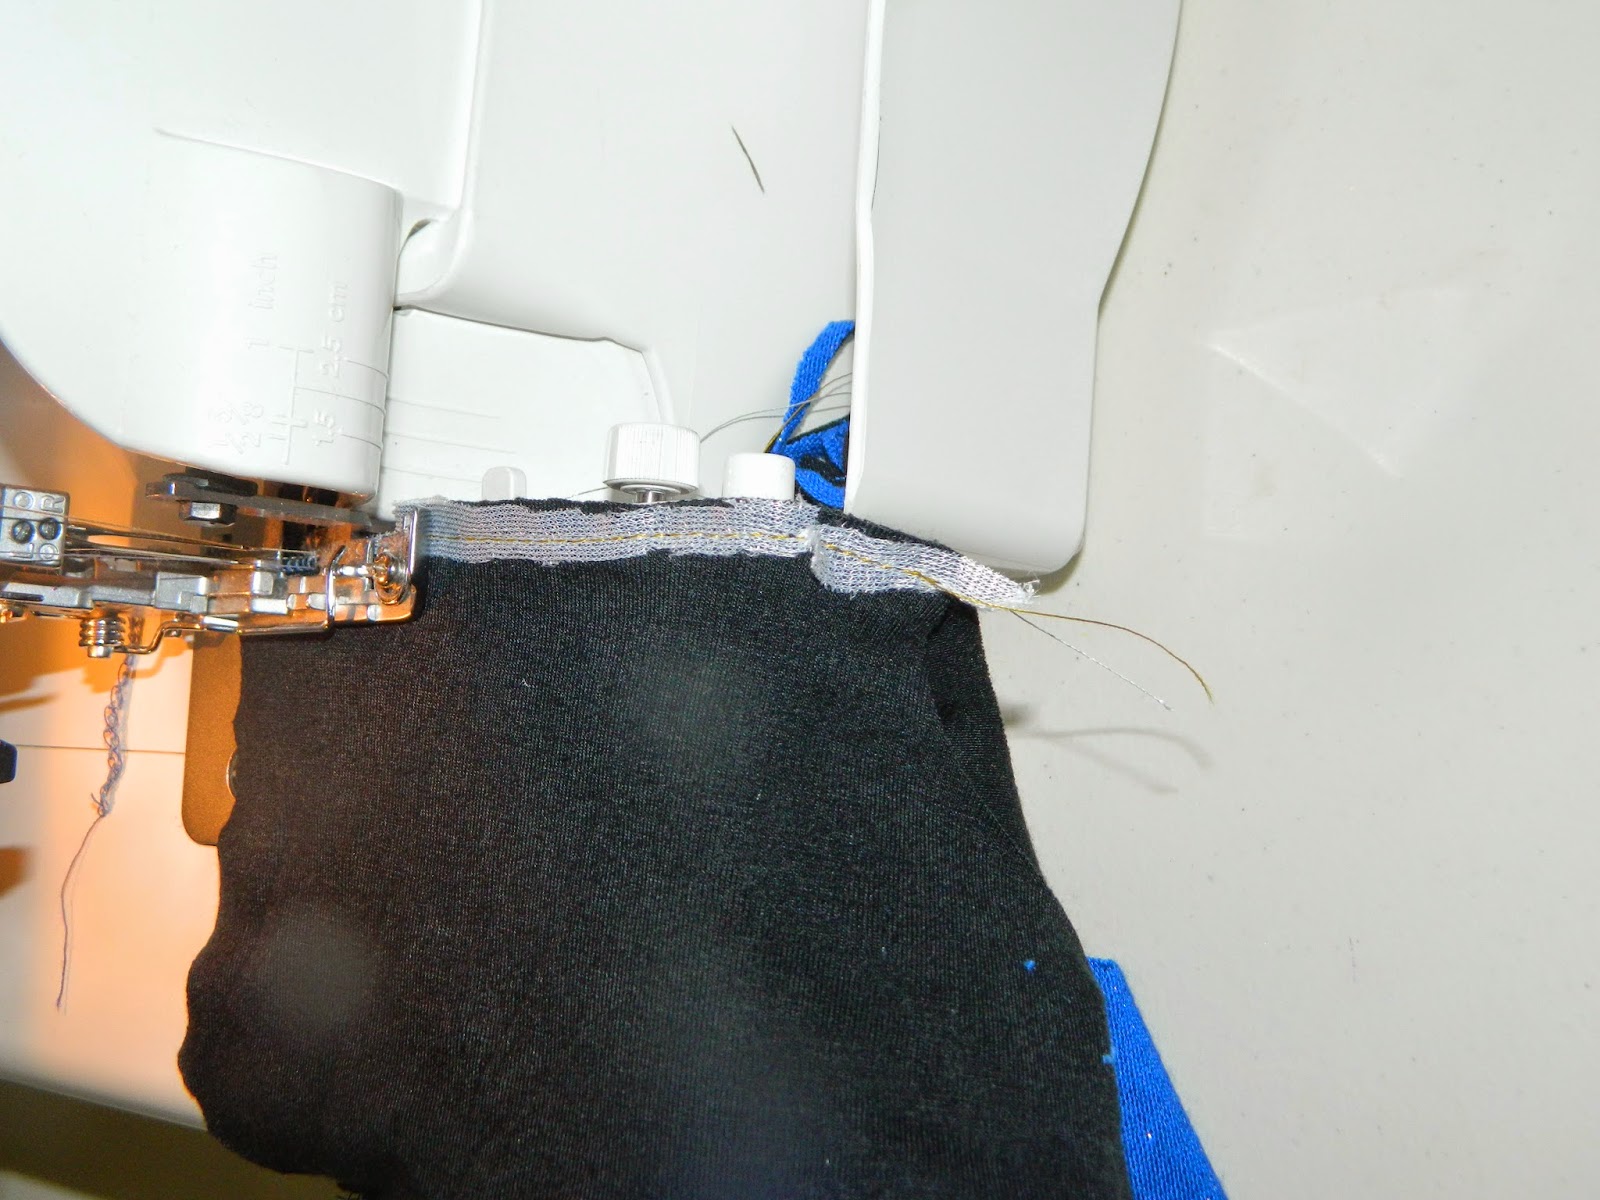
{I use my sewing machine first to sew in place then I move and finish my seams with my serger.}

{Marvel in awe over your quite awesome Katy or Mac.}

{Close up of the shoulder seam}

{Back view: Look how cute the cape is! I hope others will try this for some fun super hero}

{Here is my Mac all finished at the shoulder seams}

{Side view}
Wow... I now this is a giant post for a pretty easy sew day. I hope you gain a few new pieces of sewing knowledge.
I can't wait to see all your Katy and Mac garments take shape.
Day 5 is coming up!! We are close to the end of our fun sew along.
xoxo,
~Nicole
No comments:
Post a Comment